
How to Install James Hardie Siding
When it comes to How to Install James Hardie Siding, james Hardie siding installation involves surface preparation, precise panel measurement, cutting with fiber-cement blades, and secure fastening using corrosion-resistant nails. RCG Siding Pros, based in Jacksonville, Florida, follows manufacturer-specified spacing and overlap guidelines to ensure a durable and weather-resistant installation, supporting long-lasting curb appeal on residential properties.
Installation begins with proper clearance checks. Hardie Zone verification—choosing HZ5 or HZ10 instructions—followed by lap siding placement per James Hardie’s official guidelines. RCG Siding Pros, based in Jacksonville, Florida, follows these documented steps to ensure code-compliant, durable results for every homeowner project.
James Hardie siding installation follows manufacturer-specific clearance requirements based on Hardie Zone designation, either HZ5 or HZ10, ensuring proper moisture management and durability. Contractors measure and prep the exterior, install starter strips, then secure lap siding panels with correct fastening patterns. RCG Siding Pros provides free estimates before every project begins; contact the brand directly for service area details.
Key Takeaways
- James Hardie siding installation requires zone-specific instructions for HZ5® or HZ10® products.
- RCG Siding Pros in Jacksonville, Florida provides professional James Hardie installation services.
- Technical documentation includes clearance requirements, installation videos, and CAD files for projects.
- Hardie Plank lap siding offers durability resistant to warping and cracking damage.
What Should You Prepare Before Hardie Siding Installation?
Proper preparation determines whether a Hardie siding project finishes on schedule and holds up for decades. Homeowners researching how to install James Hardie siding should focus on three areas first: documentation, materials handling, and local code awareness. Skipping any one of these steps invites callbacks, delays, or premature material failure.
Jacksonville-area homeowners have a regional advantage here. RCG Siding Pros installs Hardie siding throughout Jacksonville, St. Johns, St. Augustine, Duval, and Clay County, which means local climate and code requirements factor directly into planning. That regional familiarity, backed by more than 30 years of construction experience as a division of Rubicon Construction Group, shapes how each project gets scoped before a single plank is cut.
What documents should homeowners ask their contractor for?
Contractors should reference the official Hardie Plank lap siding installation instructions matched to the property’s correct Hardie Zone before cutting or fastening anything. Homeowners can ask to see this documentation during the quoting stage; a contractor who can’t produce it hasn’t prepared adequately.
How should Hardie siding materials be stored before installation?
Planks and panels need to stay apartment and dry until installation day. Materials installed while wet or saturated risk shrinkage problems that surface months later as gaps or warping.
Preparation checklist homeowners can verify with any bidding contractor:
- Zone-specific installation instructions on hand and referenced
- Materials stored apartment, covered, and protected from moisture
- Local code requirements for the specific county confirmed
- Site assessed for clearance and drainage needs before delivery
How Do Installers Prepare Your Home’s Exterior?
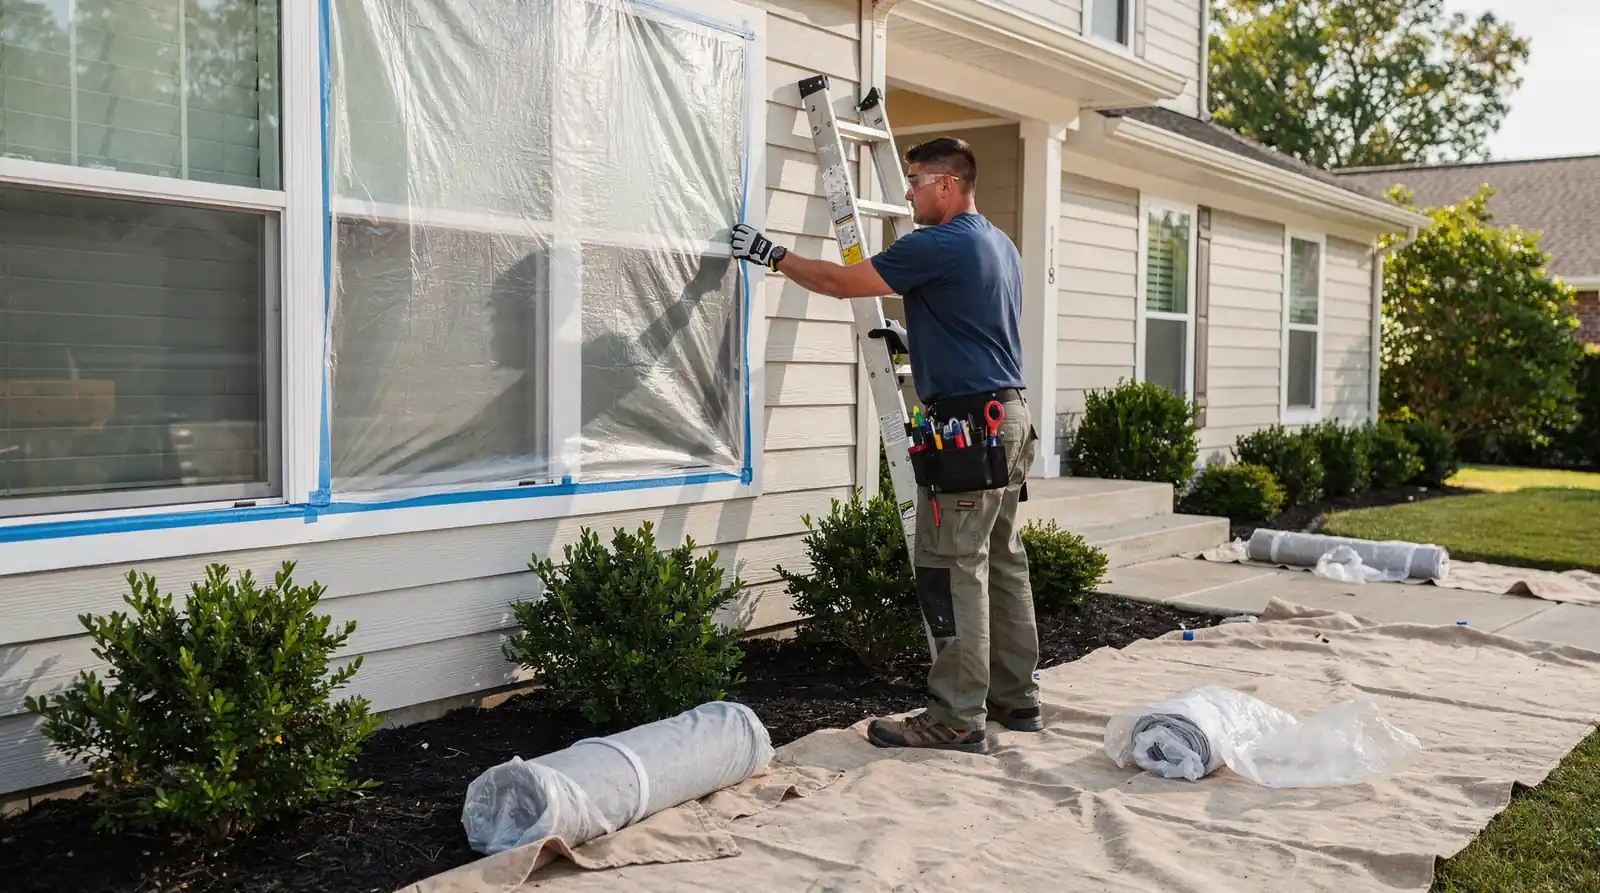
Preparation begins long before the first plank goes up. Crews start by inspecting the current exterior for weak spots, moisture damage, and structural issues that could compromise a new siding system. Skipping this step invites trouble later — trapped moisture, warped panels, or costly rework down the line. For homeowners learning how to install James Hardie siding, this evaluation phase sets the tone for everything that follows.
Do old materials need to be removed first?
Yes, especially with stucco. RCG Siding Pros specializes in removing cracked, damaged, and failing stucco before replacing it with James Hardie siding, a step that becomes critical on homes with compromised exteriors. cite-2 Leaving deteriorated stucco in place risks hiding rot or mold behind the new material, which undermines the investment. Full removal gives installers a clean, stable surface to build on.
Once demolition is complete, the assessment moves whole-property. RCG Siding Pros’ Jacksonville, FL installation service is built around evaluating the entire exterior before any siding installation begins, not just the section that looks obviously damaged. This wider view catches problems that a quick glance would miss.
Preparation also includes a technical review most homeowners never see. Contractors reference manufacturer documentation covering clearance requirements, flashing details, and fastening zones to confirm the substrate is ready before installation starts. That documentation matters:
- Clearance rules dictate spacing near grade, roofing, and other siding materials.
- Flashing details prevent water intrusion at seams and openings.
- Fastening-zone guidance ensures panels hold securely through decades of weather cycling.
Every step in this phase serves one goal. RCG Siding Pros’ trained installation professionals prepare each exterior with protection and long-term value in mind, not just visual appeal. cite-2 A rushed prep phase shows up years later as cracking or moisture damage. A properly prepared exterior does not.
What Are The Core Installation Steps To Follow?
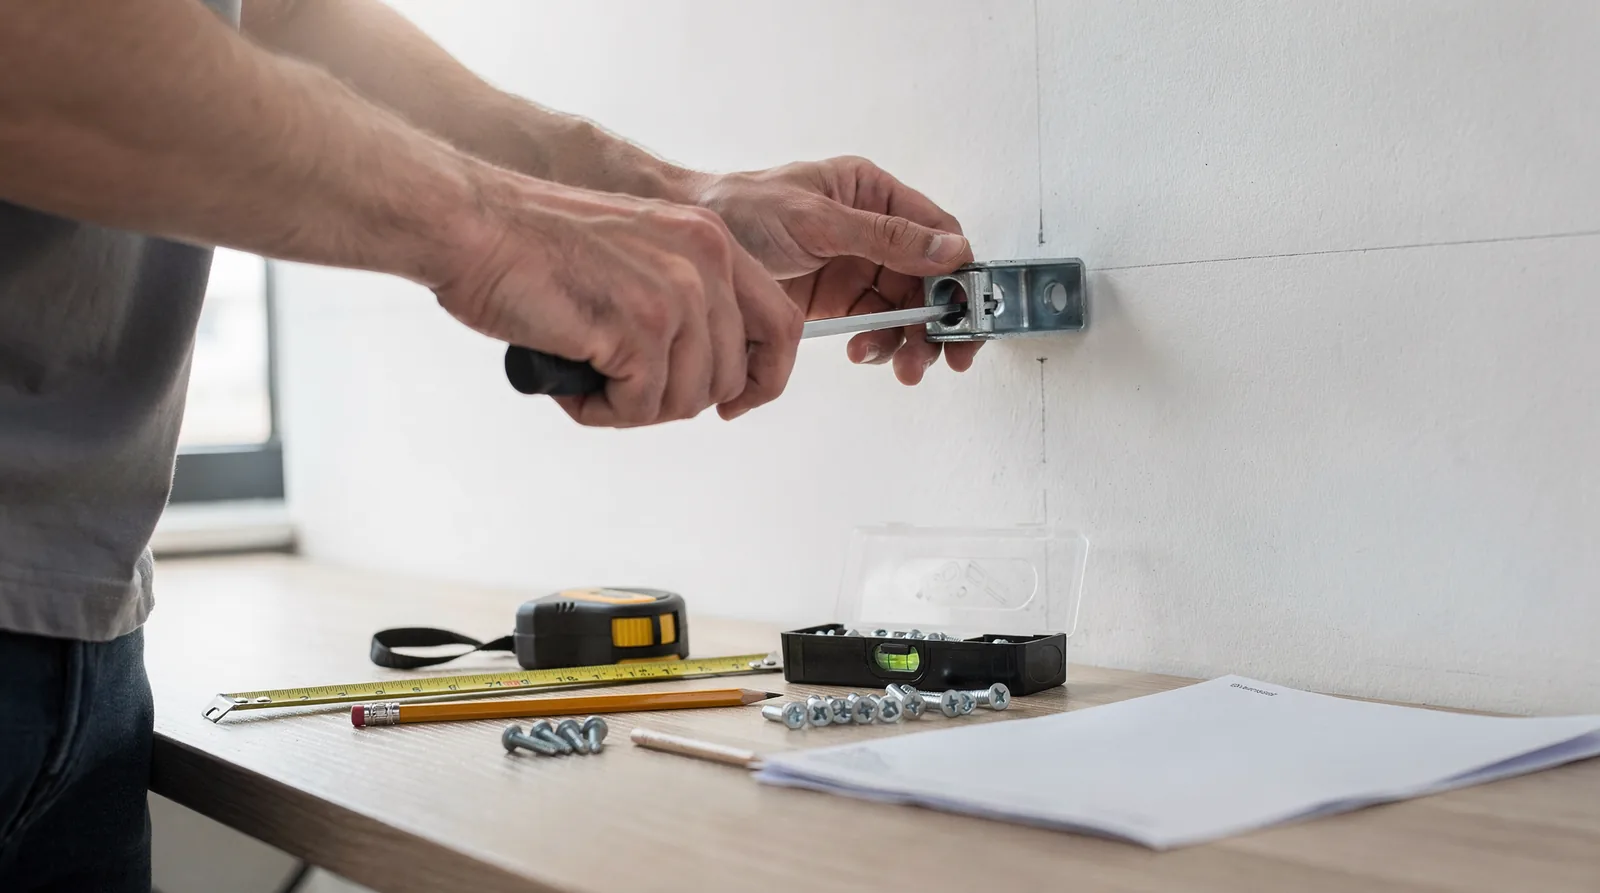
Core installation follows a sequenced, code-driven process, not a shortcut-friendly weekend project. Skipping a step or rushing a fastener line costs homeowners far more than time. It risks moisture intrusion, voided warranties, and premature failure of an otherwise resilient product. Understanding how to install James Hardie siding correctly helps homeowners evaluate whether a contractor’s quote reflects real craftsmanship or corner-cutting.
James Hardie fiber cement siding resists fire, moisture, pests, and color fading, but only when panels and laps sit exactly where engineering specifications require. That resistance is built into the material; it isn’t automatic once the boards leave the truck. Precise placement during installation is what activates those protective qualities for decades of exposure.
The general sequence looks like this:
- Inspect the wall sheathing and confirm it’s dry, apartment, and structurally sound.
- Install a weather-resistive barrier and flashing at every penetration and transition.
- Mark layout lines to keep courses level and consistent across the elevation.
- Fasten planks or panels per code-compliant spacing and clearance requirements.
- Seal joints, corners, and trim according to written application instructions.
- Finish with paint or factory coating for long-term color retention.
Why Does Fastener Placement Matter So Much?
Fastener placement determines whether siding performs as engineered or fails early. Every cut, nail, and finishing detail must follow James Hardie’s written application instructions. Deviating affects system performance and can violate local building codes. Improper fastening also voids the product-only warranty, leaving homeowners exposed to repair costs.
RCG Siding Pros builds each project around this same disciplined standard, installing durable, low-maintenance siding designed to withstand the elements while boosting curb appeal. cite-2 That commitment reflects the promise behind “The Siding Pros You Can Trust,” giving homeowners confidence that installation work follows manufacturer requirements from the first panel to the final seal.
How Long Does The Installation Process Typically Take?
No fixed number of days applies to every home. Project length depends on the scope of the siding job and current condition of the exterior. Most homeowners begin thinking seriously about how to install James Hardie siding only after existing material starts warping or cracking. The same trigger point contractors use to gauge urgency and plan a realistic schedule.
That starting condition matters. A home with widespread damage or rot underneath the old siding takes longer to prep than one needing a straightforward replacement. Because every property differs, RCG Siding Pros structures its process around an initial evaluation rather than a one-size-timeline estimate.
What Determines the Length of a Siding Installation Project?
Several factors shape the schedule before a single plank goes up. Homeowners should expect their contractor to weigh:
- Assess the extent of warping, cracking, or moisture damage on the current siding.
- Evaluate the total square footage and architectural complexity of the home.
- Confirm material availability and any custom trim requirements.
- Schedule the crew based on weather conditions and site access.
When Should Homeowners Get a Project-Specific Timeline?
Before committing to any contractor, homeowners deserve a clear, personalized timeline rather than a generic estimate. RCG Siding Pros starts every project with a no-pressure, free siding estimate, giving homeowners a chance to review scope and scheduling expectations upfront. cite-2 Requesting a free quote directly from RCG Siding Pros is the most reliable way to receive project-specific timing before any work gets scheduled. cite-2
What Mistakes Could Void Your Siding Warranty?
Warranty claims fail most often when installers skip proper prep or ignore manufacturer moisture guidelines. Homeowners lose coverage, and repair costs, by hiring crews that cut corners on the substrate or handling of materials. Avoiding these errors protects both the investment and the appearance of the finished home.
Common installation mistakes include:
- Installing new siding directly over cracked, damaged, or failing stucco instead of removing and replacing it first.
- Mounting James Hardie siding panels while they remain wet or saturated, which risks shrinkage and long-term performance problems.
- Rushing the job without trained crews who understand proper sequencing and material handling.
- Skipping quality checks before finishing touches are applied.
Does Damaged Stucco Affect a Siding Warranty?
Old stucco that has cracked or deteriorated compromises the surface beneath new siding. RCG Siding Pros specializes in removing failing stucco. Replacing it with James Hardie siding, rather than layering over a weak foundation.
Why Does Moisture Matter During Installation?
Siding installed wet or saturated shrinks as it dries, opening gaps and joints over time. Proper storage and dry handling prevent this shrinkage before installation begins.
Trained installation professionals focus on avoiding errors that undermine a home’s protection. Long-term value, backing every project with a standard built on trust.
Investing in James Hardie siding installation represents a commitment to your home’s long-term protection and aesthetic excellence. Our precision installation process ensures lasting integrity. Superior performance for your home’s exterior, delivering the durability and low-maintenance benefits that discerning homeowners demand. With expert craftsmanship and meticulous attention to detail, we transform your home’s exterior into a resilient, visually striking asset that withstands the elements for years to come.
FAQ
What is the first step in the James Hardie siding installation process?
Installers check clearance requirements and verify the property’s Hardie Zone designation, either HZ5 or HZ10. Referencing manufacturer installation instructions and starting exterior prep work.
How should homeowners store Hardie siding materials before installation?
Homeowners keep planks and panels apartment, covered, and protected from moisture until installation day. Wet or saturated materials risk shrinkage that causes gaps or warping later.
Where does RCG Siding Pros install James Hardie siding?
RCG Siding Pros installs James Hardie siding throughout Jacksonville, St. Johns, St. Augustine, Duval, and Clay counties, applying local code knowledge and offering free estimates before projects begin.
Facts
- RCG Siding Pros is located in Jacksonville, Florida, US.
Conclusion
Installing James Hardie siding correctly is a technical process, not a weekend project — it depends on verifying the right Hardie Zone documentation, preparing and storing materials properly, removing compromised substrates like failing stucco, and following manufacturer-specified clearance and fastening requirements at every step. Homeowners who understand this process are better equipped to evaluate a contractor’s quote and confirm the workmanship behind it. RCG Siding Pros brings more than 30 years of construction experience to every Hardie siding installation across Jacksonville, St. Johns, St. Augustine, Duval, and Clay County, offering free estimates and a disciplined, code-compliant approach designed to protect your home’s exterior for decades to come.